Happy cake Happy cafe/Shutterstock
For most of us, the first thing we tend to crave in the morning (besides more time in bed) is a steaming cup of joe. Prior to the pandemic, we’d trudge over to our local coffee shops and revel in the time spent with colleagues away from the office, dawdling and commiserating while waiting on our mid-day cappuccinos and macchiatos.
The pandemic changed a lot of things, that’s for sure, but one of the ongoing shifts we’ve all had to get used to is working from home, and a lack of access to things we took for granted—aka an expertly crafted oat milk latte.
Unsurprisingly, the pandemic saw a series of at-home barista experiments gain popularity thanks to social media, when those in search of caffeination (and stimulation) sat in the kitchens whipping cane sugar and instant coffee to create the frothy, overly sweet goodness that was dubbed dalgona coffee.
The pillow-like froth of dalgona coffee is something we have continued to crave, and coffee giants have begun to capitalize on. Starbucks had people fawning over their pumpkin cream cold brew, and last year Dunkin’ partnered with TikTok star Charli D’Amelio on a drink that featured cold brew with pumps of caramel and a cinnamon sugar-topped sweet cold foam.
Luckily, all of these foamy concoctions, cold and piping hot, can be created from home. To help you out on your journey, we asked the experts over at Coffee Project in New York City for some help.
A local, women-owned roastery operating out of Long Island City, Coffee Project not only has coffee shops around the city but also offers classes for anyone from beginners to competition-level baristas. Needless to say they know something about the art of at-home froth.

Make foam for hot beverages
Kaleena Teoh, co-founder of Coffee Project, simplified the way we think about making espresso beverages with a single line: It’s all about the ratio of milk-to-espresso. Starting out with a double ristretto pour of pure espresso, all you have to do is add a certain amount of frothed and steamed milk to create the entire gamut of your favorite coffee shop beverages.
“You would usually start with a standard two ounces of espresso,” she says. “Add one ounce of milk, that’s a traditional macchiato. Add two ounces of milk, that’s a cortado. Three to four ounces, you’re going to get a flat white. And a little bit more frothed milk and you’ve got a cappuccino, add even more and you end up with a latte.”
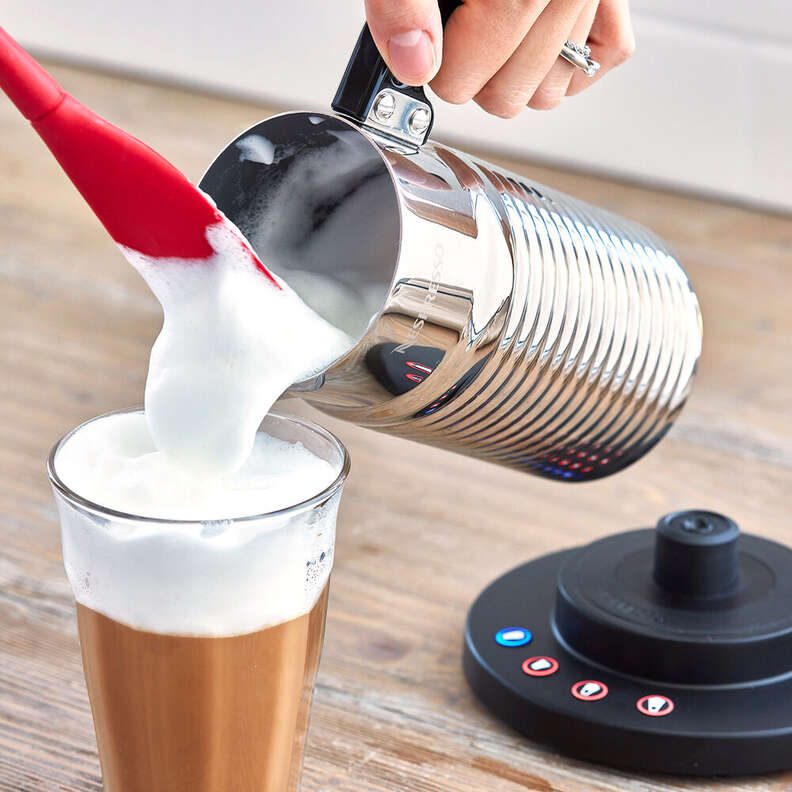
For beginners, Teoh suggests using an electronic frothing whisk to create your foam at-home, which can be purchased for less than $20 on Amazon. If you’re willing to shell out a bit more, you can invest in a countertop instant steamer like the Aeroccino by Nespresso.
The main difference is that the countertop version is automated, so all you have to worry about is adding the milk in and pressing start. The whisk is just as effective in foaming up your hot milk, but you’ll have to heat it yourself beforehand in a microwave or on your stovetop, and be more controlled about your method of hand whisking.
When heating up your milk to froth, use a food thermometer to monitor when the temperature reaches between 130 to 155°F. If the milk reaches 170° or higher, the proteins will start to break down and burn. Next, grab your whisk and get ready to froth your milk in two quick stages: aeration and incorporation.
“The first stage is aeration, when you inject air into the milk. If you’re using a handheld frother, you want to be at a point where you can see the little coil actually pulling air into your milk,” Teoh advises. “You don’t want to put it all the way at the bottom. This should only take about five seconds, before starting the second step of incorporation. Pull the whisk closer to the bottom of your vessel, and you will see this little vortex forming, and you hear the sound. During this step, all the air you injected into the milk is getting broken down into tiny, tiny, tiny bubbles, giving you the shiny, silky surface you should be looking for.”
Incorporate for around 10 seconds before pulling your whisk out, and then give your vessel a good tap or two on the counter to release any larger air bubbles on the top of your milk. Tilt your cup to the side and pour your milk straight into the center of it, not on the side, which will make your end result look mucky. Dip your milk vessel down to touch the lip of your mug and gently pour the rest of the frothy milk on the top, leveling out the mug as it becomes full.
“All the air you injected into the milk is getting broken down into tiny, tiny, tiny bubbles, giving you the shiny, silky surface you should be looking for.”
When it comes to milk type, Teoh says whole milk will always produce the best, silkiest froth, but that there are plenty of substitutes that could work as well. Skim milk is the next best option in her opinion, but for the dairy averse, oat milk and almond are her milk substitutes of choice. She informs us that after a rigorous taste and froth test by herself and her team of over a dozen oat and almond milks, she recommends the Chobani Barista Edition oat milk, and the Almond Dream vanilla flavor.
If you plan on creating your frothy concoctions with a nut milk or with oat milk, it’s important to always seek out “barista edition,” on the label. It may seem like a marketing gimmick, but it actually means that the manufacturer added an additional amount of protein to the blend, which helps with creating that optimal froth for espresso beverages.
Make foam for cold beverages
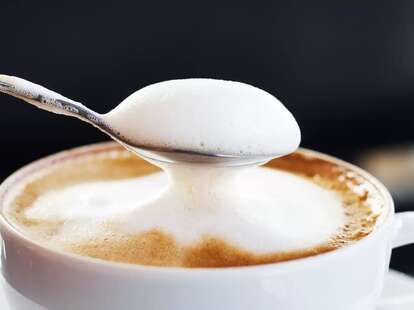
Frothed milk used in cold beverages is a phenomenon that has totally caught fire recently, thanks to all the love that cold foam has been receiving. You’ve most likely seen cold foam atop cold crew beverages at your local Starbucks—it’s nonfat or skim milk that has been frothed into a cloud-like state and then used to simulate the airy toppings you’d traditionally see on a hot espresso beverage.
A few great things about cold foam include the texture, which is creamy and velvety when done right, and an easy way to add extra flavor and interest to a cold espresso beverage without making the entire thing taste too milky. Cold foam is also low in calories, since only a small amount of milk is needed to create the foam. You can also use your imagination to create a wide gamut of cold foam flavors to top your morning coffee with.
The reason a lower fat milk creates the best cold foam goes back to the lesson we learned about hot drinks. It actually has the largest percentage of protein when compared to dairy milks with higher fat content. In contrast, whole milk works best for hot espresso beverages thanks to the fat lipids, which keeps your bubbles small. For more of an ice-creamy flavor and a denser texture, try substituting half of your milk with half and half.
To make cold foam at home, grab that handheld whisk you use for your hot beverages. Pour in your desired amount of milk, remembering that when frothed the amount of foam will be essentially double the original amount. Feel free to add a teaspoon of simple syrup (which you can make on your stovetop using equal parts water and cane sugar), or a pump of flavored syrup, for extra sweetness and flavor. Froth your milk using the same method outlined above, then spoon or pour onto your favorite cold coffee beverage. Great options include store bought cold brew, an iced Americano, or an iced latte
If you don’t happen to own a whisk, you can also make cold foam by adding the same ingredients to a French press, and pumping the plunger up and down until the milk doubles in size to create a firm froth with tight, uniform bubbles.